Discord Bots are a great way to maximize productivity on one’s server such as fetching important data, delivering notifications, scheduling events, moderating conversations, and more. Other times, they are not.
We are going to show you how to create a bot and set it up.

How to set up a bot application?
How to create your bot?
It is quite easy to create a bot. You need to follow the steps mentioned below in order to create a bot.
- First of all, you have to log in on the Discord Website.
- Navigate to “Developers” drop-down menu and click on the Developer Portal link.
- On the header, you have to click on the Applications link.
- After that, you to have click “Create an application” button.

[Source: discordjs.guide]
You can enter a name, description, and avatar for your application here. Once you are done with entering all the information and saved it, you can move on by selecting the “Bot” tab in the left pane.
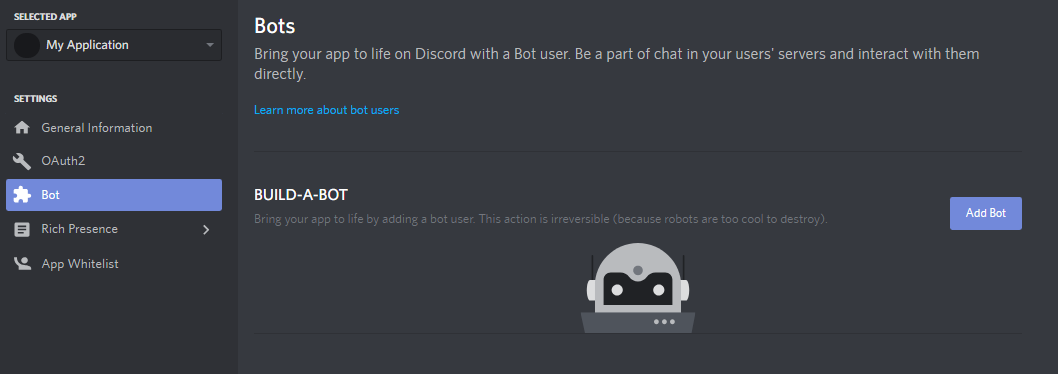
To add a bot you have to click on the “Add Bot” button on the right and confirm the pop-up window by clicking on “Yes do it!”. It is all the work you have to do for creating a bot. But it is not the end of it.
Your Token
First of all, you need to know about what a Token is. A Token is basically your bot’s password this token is used by your bot to log in to Discord. It is a very important thing that you do not ever share this token with anybody, purposely or accidentally. If someone got the hold of your token, they can use it to perform illegal activities.
After you are done with creating a bot, you are going to see a screen like this:
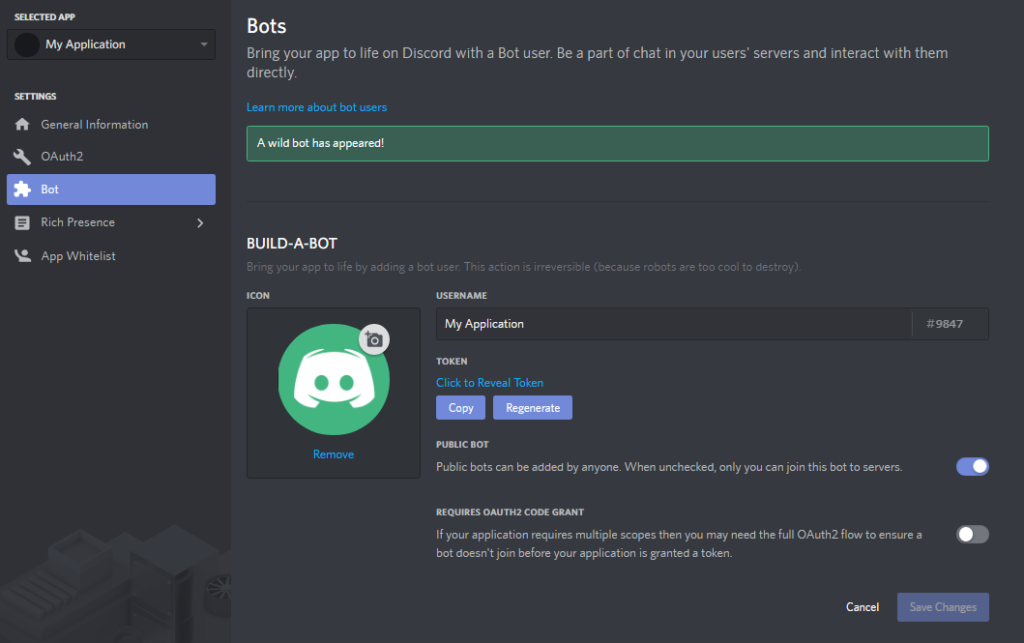
In this screen, you can give a cool avatar to your bot, set its username, and make it public or private. The Token can be accessed in this panel, either by showing it or simply pressing the “Copy” button.
When Discord asks you to paste your token somewhere, this is the value that you need to put in.


