If you want to add bots to servers you first need to create a bot, which we showed in the previous article. If you follow those steps you can easily create a bot.
Before you are actually able to see your bot in your own or other servers, it needs to be added using a special invite link that can be created using your bot application’s client ID.

Invite Links
Here is an sample invite link:
“https://discordapp.com/oauth2/authorize?client_id=123456789012345678&scope=bot”
You need to understand the structure of this link.
- The first part of this link is Discord’s standard structure for authorizing an OAuth2 application for entry to a Discord server.
- The second part that says “client_id=” is used to specify which application you want to authorize. You have to replace this part with your client’s ID in order to create a valid invite link.
- The third part which says “scope=bot” specifies that you want to add this application as a Discord bot.
How to create and use your own invite link?
You have to replace the client_id parameter with your client’s ID in order to produce your invite link as mentioned above in the points.
In order to find your App’s ID, navigate back to “My Apps” page under the “Applications” section once again and click on your bot application.
Enter your app’s ID into the link template and then access it in your browser.

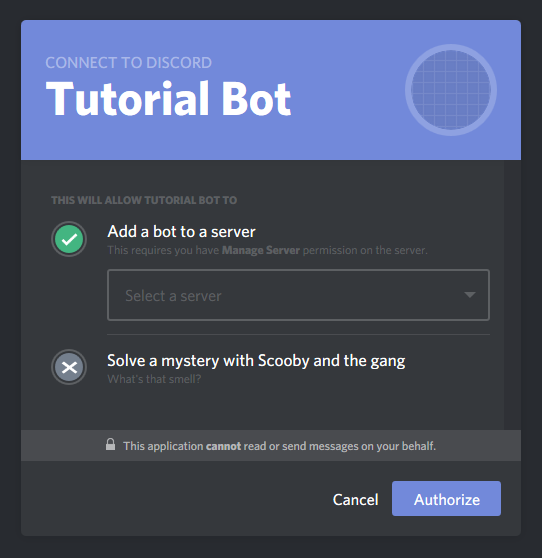
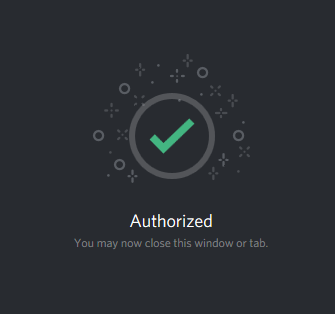
Then, you have to select the server you want to add it to and click on the “Authorize” button. It should be kept in mind that you are going to need the “Manage Server” permission on a server in order to be able to add your bot there. This should then present you a confirmation message.

Now you have completed the process of adding your bot to your Discord server. It should show up in your server’s member list somewhat like this.


